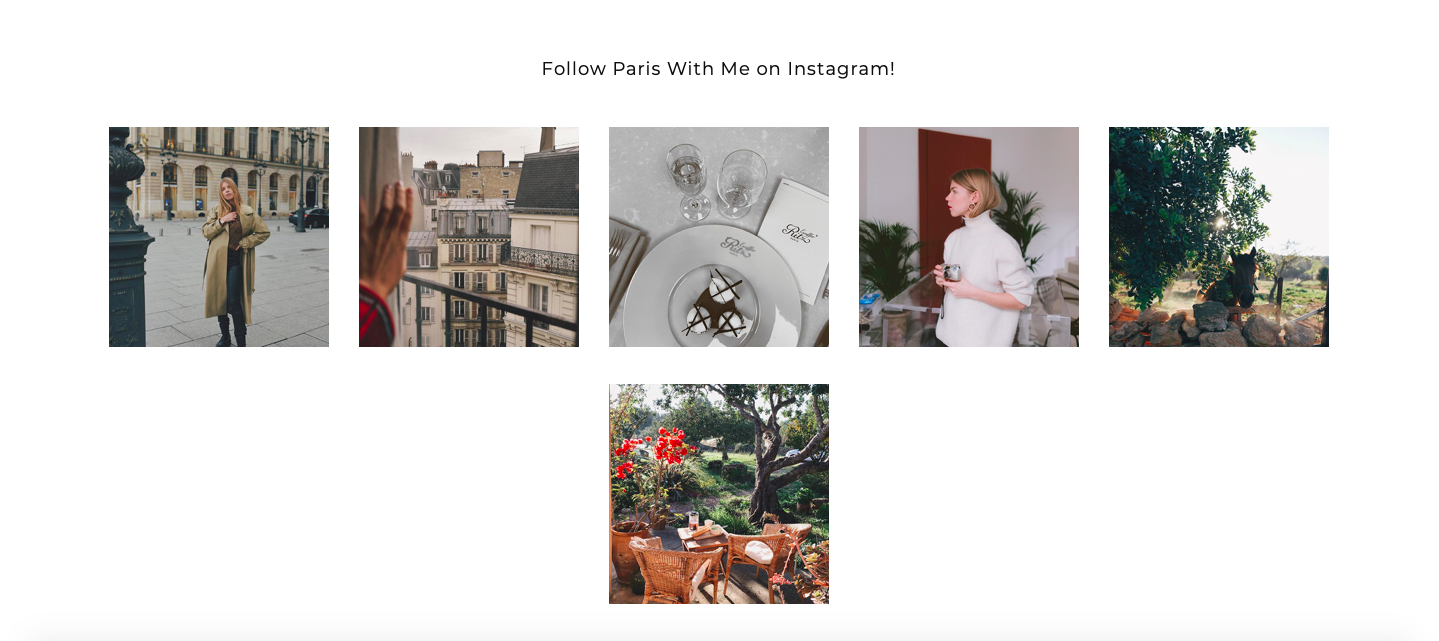
Instagram Widget
Paris Theme comes with a styled Instagram gallery at it’s footer section where you can display all the latest of your Instagram activity. The setup of it is super easy, all you need to do is:
Display your Instagram Feed
UPDATE SEPTEMBER 2019!! WP INSTANT FEEDS PLUGIN BY MNMLTHMS IS NO LONGER SUPPORTED AND THEREFORE STOPPED WORKING. PLEASE REPLACE PLUGIN WITH FOLLWING:
Go to Plugins and Add New – search for the ‘Flo Social’ plugin, install and activate it. Navigate back to your WP dashboard and locate the plugin on the left hand side menu near bottom => FLO SOCIAL. Click on it to start setting up the plugin.
- We’ll start with adding your Instagram Profile account to the plugin! For this simply click on the plus sign on the add account tab and type in your username. Finish the process by clicking on the check sign next to it. NOTE: It may be that you need to repeat this a few times and refresh the site when its not connecting your Insta profile immediately.
- Now after we have connected your Instagram Profile account with the plugin we can use the widget. Please navigate to APPEARANCE => WIDGETS and locate the flo social widget from the available widgets (you see on the left hand side). Drag and drop the flo social widget to the widget area you like to display your Instagram feed. In our demo version we place the the Instagram gallery at the footer => Instagram Area. You can decide to place it anywhere you like.
- When you found the ideal place for your Instagram gallery we can start setup the widget.
- First we give the widget a title – please use only the TITLE field for this. You can ignore the BELOW label field.
- Next we can to decide the the padding between the posts – I recommend 1px but you can do as you feel like and actually need.
- After that we want to setup the number of images per row as well as the general number of posts we like to display. You can orientate yourself toward my demo example or do whatever you feel like. Example => number per row 4 // general number of posts 4.
- Now we need to set the size of the images. I recommend the option CROP 640 x 640.
- Lastly we need to set the number of rows for the mobile screens. In my example I set that number 3 but here as well do as you feel and like.
As always don’t forget to save your changes! This should do the work for the time being.
NOTE: If you experience an alert after you’ve saved your changes and want to visit your site from your dashboard and it says not correctly saved simple ignore it and click on leave page. This problem is due to caching error but nothin to worry about

